Set up the Telegram Bot API
Before writing any code, you need a bot account. Telegram Mini Apps are not standalone applications; they are web interfaces launched within the Telegram client. The bot acts as the entry point, handling the connection between the user and your web app. You cannot run a Mini App without first creating a bot via the official BotFather tool.
Create a new bot
Open Telegram and search for @BotFather. Send the /newbot command. BotFather will prompt you for a display name and a username. The username must end in bot (e.g., my_shop_bot). Once created, BotFather provides a Bot Token. This token is your API key. Keep it secure; anyone with this token can control your bot. Do not commit it to public code repositories.
Enable Mini Apps
A newly created bot does not automatically support Mini Apps. You must explicitly enable this feature. Send the /mybots command to BotFather, select your bot, and navigate to Bot Settings > Menu Button. Choose Configure Menu Button and enter the URL where your Mini App will be hosted. This URL becomes the launch link for your app. You can also set a custom label for the menu button, such as "Open Shop" or "Play Game".
With the bot created and the menu button configured, you have the foundational identity required to host a Mini App. The next step is setting up the development environment and writing the initial code.
Initialize the Telegram Web Apps SDK
Before you can build the interface, you need to establish the communication channel between your web view and the Telegram client. The official Telegram Web Apps SDK handles this bridge, providing methods to read user data, manage theme colors, and trigger native actions like closing the app or showing a main button.
Include the SDK script in your HTML file. This loads the necessary JavaScript object that exposes the Telegram.WebApp interface. For modern projects using bundlers like Vite or Webpack, you can also install the package via npm to get TypeScript definitions.
Once loaded, initialize the app in your main entry file. This step ensures the SDK is ready to use and allows you to configure the app's behavior immediately. You should expand the app to fill the available viewport and enable safe area insets so your content doesn't get hidden behind device notches or home indicators.
import { WebApp } from '@twa-dev/sdk';

// Initialize the WebApp
WebApp.ready();

// Expand the app to fill the entire viewport
WebApp.expand();

// Enable safe area insets
WebApp.setHeaderColor('secondary_bg_color');
WebApp.enableClosingConfirmation();
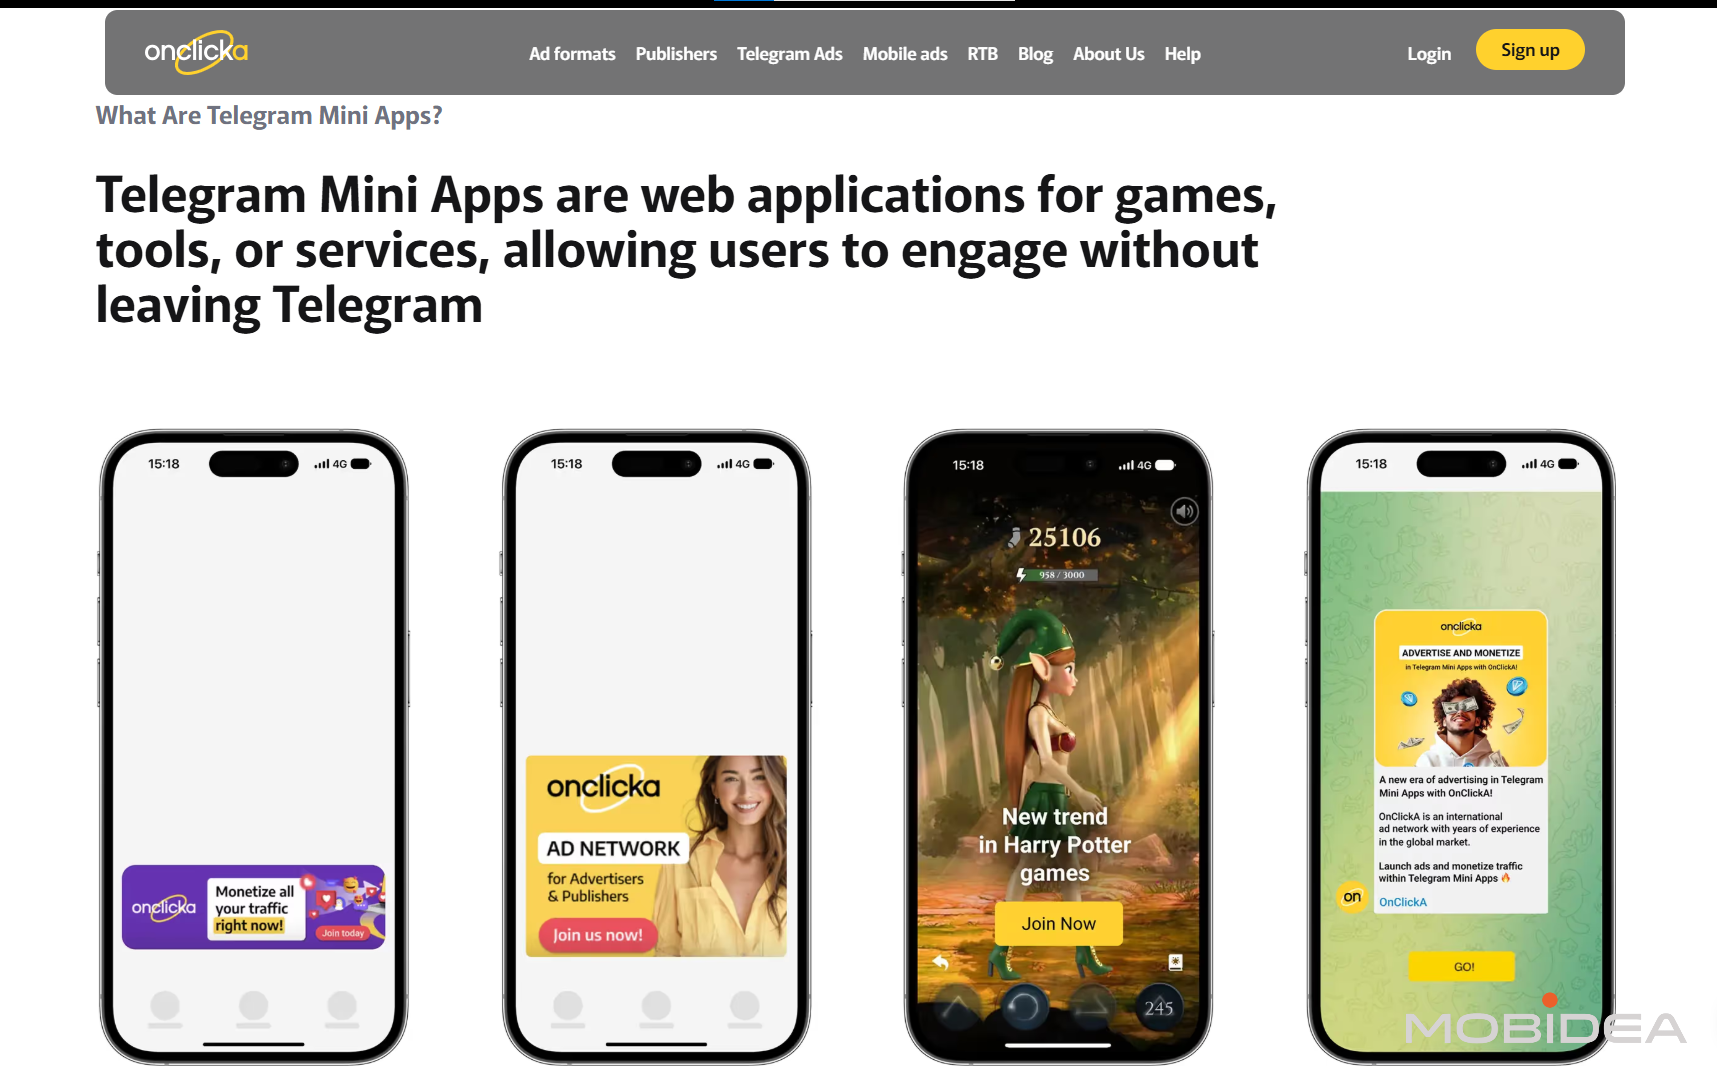
The image below shows how a mini-app renders within the Telegram client. Notice how the app respects the native UI elements, such as the back button and the status bar, ensuring a consistent experience for users.
After initialization, you can start accessing user data and theme settings. The SDK automatically passes these parameters from the Telegram client, so you don't need to handle authentication or color schemes manually. This seamless integration is what makes Telegram mini-apps feel like native parts of the messenger rather than separate web pages.
For more details on the available methods and properties, refer to the official Telegram Mini Apps documentation.
Design for the Telegram UI Kit
To make your mini-app feel like a native part of Telegram, you must use Telegram’s native design tokens and UI components. This ensures your app respects the user’s theme (light or dark mode), matches system fonts, and aligns with platform-specific gestures. Skipping this step makes your app look like a detached website, which breaks the immersion users expect in the Telegram ecosystem.
The core of this integration is the Telegram Web Apps UI Kit. This library provides 25+ pre-built components and 250+ styles that mirror the native Telegram interface. By using these assets, you automatically handle edge cases like safe areas, dynamic font scaling, and platform-specific navigation bars without writing custom CSS for every device.
You can access the official UI Kit directly through Figma for visual design or via the GitHub repository for web development integration. The GitHub version includes a web library that allows you to import components directly into your React, Vue, or vanilla JavaScript projects. This ensures your codebase stays synchronized with Telegram’s latest design updates.
When building your interface, prioritize the following native elements:
Add the Telegram Web Apps UI Kit to your project dependencies. If using a framework like React, install the official package to gain access to pre-styled buttons, headers, and lists that automatically adapt to the user’s theme settings.
Replace hardcoded colors and fonts with Telegram’s design tokens. These tokens dynamically switch between light and dark modes based on the user’s Telegram client settings. This single change ensures your app remains readable and visually consistent across all devices.
Build your interface using Telegram’s native components such as MainButton, BackButton, and Popup. These elements trigger native animations and haptic feedback, providing a smoother user experience than standard HTML elements. They also handle platform-specific gestures automatically.
By adhering to these design standards, your mini-app will blend seamlessly into the Telegram environment. Users will perceive your app as a trusted extension of the platform rather than an external web page, increasing engagement and retention.
Connect TON Blockchain Wallet
To enable Web3 interactions like signing transactions or sending tokens, your Mini App must integrate TON Connect v2. This library handles the secure handshake between your frontend and the user's TON wallet (such as Tonkeeper or the Telegram Wallet). It abstracts the complexity of wallet discovery and protocol negotiation, allowing you to focus on the app logic.
The integration follows a standard sequence: initialize the connector, request a connection, and handle the resulting session. Once connected, you can use the TON_CONNECT_SDK to send transactions directly from the user's wallet without leaving the Mini App interface.
Start by adding the official SDK to your project. This package provides the TonConnectUI class and necessary types for handling blockchain interactions.
npm install @tonconnect/ui
If you are using TypeScript, you will also need the type definitions for the core protocol:
npm install @tonconnect/ton-connect-ui @tonconnect/sdk
Create a single instance of TonConnectUI during your app’s initialization. Pass your app’s manifest URL, which must be hosted publicly and follow the TON Connect specification. This manifest tells the wallet what your app is, its name, and its website URL.
import { TonConnectUI } from '@tonconnect/ui';

const tonConnectUI = new TonConnectUI({
  manifestUrl: 'https://your-domain.com/tonconnect-manifest.json',
  buttonRootId: 'ton-connect-button'
});
The buttonRootId is optional if you plan to build a custom connection button, but it is useful for quick testing. Ensure your manifest file is valid JSON and accessible via HTTPS.
Trigger the connection flow when the user clicks a "Connect Wallet" button. The SDK automatically detects installed wallets and opens the appropriate modal or redirects to the wallet app.
const connectWallet = async () => {
  try {
    await tonConnectUI.connectWallet();
    console.log('Wallet connected:', tonConnectUI.account);
  } catch (error) {
    console.error('Connection failed:', error);
  }
};
If the user cancels the connection, the promise rejects. Always handle this error state gracefully in your UI, perhaps by showing a "Connection Cancelled" message.
Once connected, tonConnectUI.connected is true and tonConnectUI.account contains the user's public address and chain type. You can use this state to update your UI, such as showing the user's balance or enabling transaction buttons.
Subscribe to connection changes to keep your UI in sync. If the user disconnects the wallet from another device or tab, your Mini App should reflect this immediately.
tonConnectUI.onStatusChange(wallet => {
  if (wallet) {
    // User is connected
    setAccount(wallet.address);
  } else {
    // User disconnected
    setAccount(null);
  }
});
With an active connection, you can send transactions. Define the transaction details, including the destination address, value (in nanotons), and payload (if any). The SDK will format this and present it to the user for approval in their wallet.
const sendTransaction = async () => {
  const transaction = {
    validUntil: Math.floor(Date.now() / 1000) + 60, // 60 seconds
    messages: [
      {
        address: 'UQD...recipient_address...',
        amount: '1000000000', // 1 TON in nanotons
        payload: 'base64_payload_here' // optional
      }
    ]
  };

  try {
    const result = await tonConnectUI.sendTransaction(transaction);
    console.log('Transaction sent:', result);
  } catch (error) {
    console.error('Transaction failed:', error);
  }
};
Always set validUntil to prevent stale transactions. The wallet will reject any transaction that expires before the user approves it.
Test and Deploy the Mini-App
Before making your Telegram Mini App available to users, you need to link your web interface to the bot and verify that everything works across devices. This final phase ensures that the user experience is smooth on both mobile and desktop clients.
Link the Web URL to Your Bot
You must register the web app URL with Telegram using the BotFather. Open Telegram, search for @BotFather, and send the /newapp command. Follow the prompts to select your bot or create a new one. When asked for the web app URL, paste the HTTPS link to your deployed frontend. Telegram validates this URL, so ensure your server is live and accessible.
Verify Mobile and Desktop Functionality
Test the mini-app in different environments to catch layout issues early. Open your bot in the Telegram mobile app first; this is where most users will interact. Check that buttons are tappable and content fits the narrow screen. Then, switch to the desktop client to verify that the wider viewport doesn’t break your design. If your app uses the Telegram WebApp SDK, confirm that theme parameters and back buttons render correctly.
Pre-Launch Checklist
Use this checklist to ensure your Telegram Mini App is ready for public use:
-
HTTPS enabled on your web URL
-
Mobile responsive design verified
-
TON wallet connection tested
-
BotFather link confirmed
-
Desktop client functionality checked
Common Mini-App Errors
Even with a clean codebase, Telegram Mini Apps often fail in production due to subtle configuration mismatches. These issues rarely crash the entire app but instead block critical features like payment processing or proper display. The following sections address the most frequent technical pitfalls and how to resolve them.
CORS and API Access
The most common error involves Cross-Origin Resource Sharing (CORS) restrictions. When your Mini App attempts to fetch data from an external API, the browser inside Telegram may block the request if the server doesn't explicitly allow the Telegram domain.
To fix this, ensure your backend headers include Access-Control-Allow-Origin: https://t.me or the specific domain hosting your web app. If you are using a local development server, remember that localhost is not accessible from the Telegram client. You must use a tunneling service like ngrok or expose your server via a public URL with valid HTTPS certificates. Telegram strictly enforces HTTPS for all Mini Apps in production.
Viewport and Safe Area Issues
Telegram Mini Apps run inside a web view that respects the device's physical safe areas (notches, home indicators). If you set a fixed height or ignore safe areas, your UI may be cut off or overlap with Telegram's native navigation bar.
Always use the Telegram Web Apps SDK to detect the viewport height and apply safe area insets. In CSS, use env(safe-area-inset-bottom) to ensure buttons and input fields remain accessible. Failing to do this results in a poor user experience, particularly on iOS devices where the bottom safe area is significant.
TON Transaction Failures
For apps integrating with the TON blockchain, transaction signature failures are common. This usually happens when the tonconnect manifest is misconfigured or the app doesn't handle the user rejecting the transaction gracefully.
Ensure your tonconnect-manifest.json is hosted publicly and correctly linked in your app's header. Additionally, always wrap transaction calls in try-catch blocks to handle user cancellations or network errors. Telegram's documentation provides detailed examples for handling these states correctly.
Incorrect Initialization
Finally, many developers forget to initialize the Telegram Web Apps SDK before using its features. If you try to access window.Telegram.WebApp before the SDK is loaded, your app will crash or behave unpredictably.
Always call Telegram.WebApp.ready() once your UI is fully rendered. This signals to Telegram that your app is ready for interaction and prevents UI glitches during the launch sequence. For more details on initialization, refer to the official Telegram Mini Apps documentation.
No comments yet. Be the first to share your thoughts!